 Join me for today’s video, I’ll share some tips on creating random sizes with the new Stampin’ Up edge and corner punches.
Using the punches seperately makes a pretty accent to your project. When using them together, they make a stunning border that really draws attention. However, when you use the 2 together, you’ll want to use a standard size (chart below). Sometimes the standard size doesn’t fit the project you are creating, and that’s where these tips will come in handy.
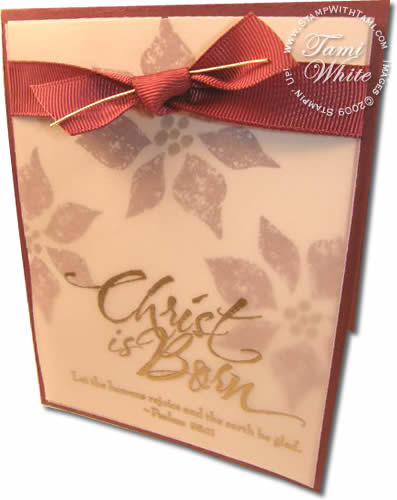
Special thanks to Gretchen Barron for both this darling card design, and for her help with custom punch sizes.
To learn techniques & exclusive videos not seen anywhere else, join my online stamp club. Click here for more info >
|
Standard Measurements |
|
|
2 3/8” |
5 Scallops |
|
2 7/8” |
6 Scallops |
|
3 ¼” |
7 Scallops |
|
3 13/16”** |
8 Scallops |
|
4 ¼” |
9 Scallops |
|
4 ¾” |
10 Scallops |
|
** 3 13/16” Square is the perfect practice size. If you are using the Stampin Up paper cutter, this is 3 lines back from 4” |
|


i am so excited to get my set of punches..you are just so creative..and it is just soo much fun!
hugs
Thank you again for another great video. Linda