
BUTTERFLY & MOTH CARDS – LADYBUG PUNCH SERIES
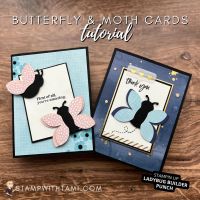
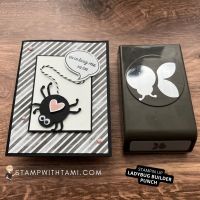
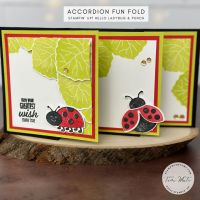
Transforming ladybugs into a butterfly & moth card is simple, just change the wing placement. Using the Stampin’ Up Ladybug Builder Punch, punch out the wings and instead of placing them on the back for the ladybug, place them on the side(s). I doubled them up for added pop and dimension.
I used the Abstract Beauty Designer Series Paper for the background and scraps of it for the wings. The moth card has added elements from the Abstract Beauty Ephemera Pack.
The printable includes instructions for cards 9 & 10 in my Ladybug punch series as well as a full supply list.
NEED HELP WITH THE LADYBUG BUILDER PUNCH
Check out my video here.
TAMI’S LADYBUG SERIES
PHOTOS
PIN IT
Want to save these ideas for later? Pin them to your favorite Pinterest board.


Have you tried these designs? I love to see your creations! Be sure to share them on #shareyourcrafts post every Saturday on my Facebook Page.
MORE PHOTOS

Here’s a guide to show the punch pieces I used on each of the butterflies, or moth.

The gold foil vellum hearts and gold stripe are from the Abstract Beauty Ephemera Pack.





The instructions link won’t open
So sorry about that. Thanks for letting me know. There are 2 ways you can download the instructions, 1) clicking the image or 2) clicking the button. The image worked, the button didn’t. I fixed it for you so you can download now.
I tried it today and it works. Is it okay for you now?