 Make your own custom stationary using My Digital Studio (118108) and the new My Sweet Pea digital kit (119978) download add on. You can make this for yourself, notes, to do lists, or create it as a gift for a friend.
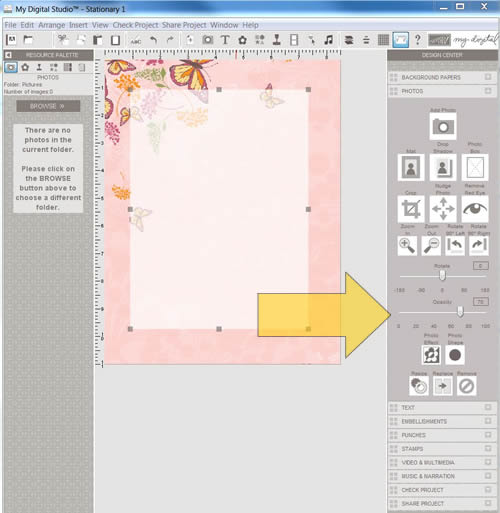
Not only is it gorgeous, it only took a few minutes! After creating the first stationary design, I simply duplicated it and then changed the background paper to one of My Sweet Pea kit’s 48 fun paper patterns. I have written instructions below, it’s that simple.
Today’s awesome project comes from my friend Meg Loven, thanks Meg!!! Dying to get your hands on My Digital Studio? It’s on sale in the “special” digital demo kit right now, get almost 50% off + a free stamp set, when you purchase the kit (which then gets you discounts on all of your purchases) – it’s the gift that keeps on giving!
Look at how gorgeous these are…


I’m blown away. What a splendid idea! Hugs, M
Beautiful paper…I’m amazed at all the things that MDS can do, or rather all the things you think of for the MDS program!
Thanks for sharing/showing us 🙂
Happy to share 🙂 I’m loving these papers!!
I’m going to be signing on this month as a demonstrator in my area (Elkton, Michigan) and I am having a tough time deciding between the digital starter and standard start kits. After seeing this post, the digital is looking more and more tempting…Oh! This is such a hard choice!