
Peaceful Place Gift Box Tutorial
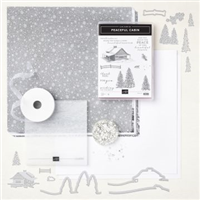
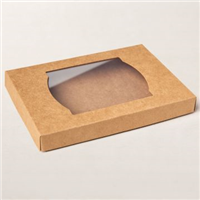
The Stampin’ Up Peaceful Place Suite creates stunning projects. A versatile suite of products that can be used for holiday and Christmas, and so much more. This project is cased from the Mini Catalog. It is a treat box created from the new Kraft Gift Boxes. I have easy to follow, printable instructions below for this Peaceful Place Gift Box Tutorial.
PEACEFUL PLACE KITS
I’ve just released a new kit and class featuring a special offer on the Peaceful Place Suite and including TWO FREE Sale-a-bration products.
HOW TO MAKE THIS CARD
CUTS:
- DSP Belly Band – 12″ x 6″
- DSP Bottom Square (woodgrain) – 4″ x 4″
- DSP Middle Square (dots) – 3-3/4″ x 3-3/4″
- Basic White Square – 3-1/2″ x 3-1/2″
- Pear Pizzaz – 3-3/8″ x 3-3/8″
- DSP (3) 3-4″ x 3-1/4″ strips
- Basic Black – 2″ x 2″ strip
INSTRUCTIONS:
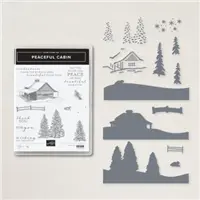
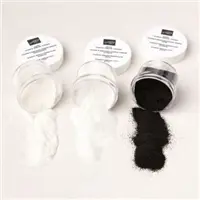
- Stamp the words on Basic Black and heat emboss with White Stampin‘ Emboss Powder.
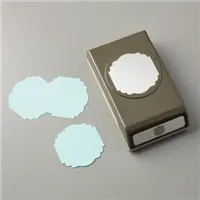
- Punch the top of the words with the Label Me Lovely Punch, then trim off the bottom.
- Attach the 3 strips of DSP to the Basic White square panel.
- Cut out the 3 tree dies from the White/DSP panel using the Stampin‘ Cut & Emboss Machine.
- Attach that panel over the Pear Pizzazz panel using Seal Adhesive. The attach to the dotted DSP using Stampin‘ Dimensionals.
- Attach the panel to the woodgrain DSP using Seal Adhesive.
- Assemble the Kraft Gift Box.
- Create the Belly Band by wrapping it around the box. Use the bone folder and each corner for crisp score line. Trim off any extra DSP and attach together with Seal +.
- Tie the twine around the Belly Band.
- Attach the square panel and word panel to the Belly Band with Stampin‘ Dimensionals.
PRODUCTS USED











#stampitcontest Perfect for gift ideas!
Great gift ideas, you’re right!