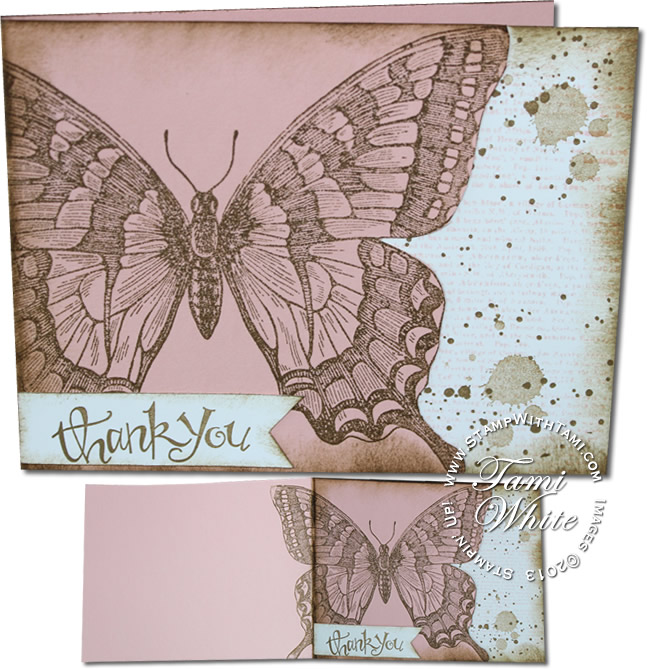
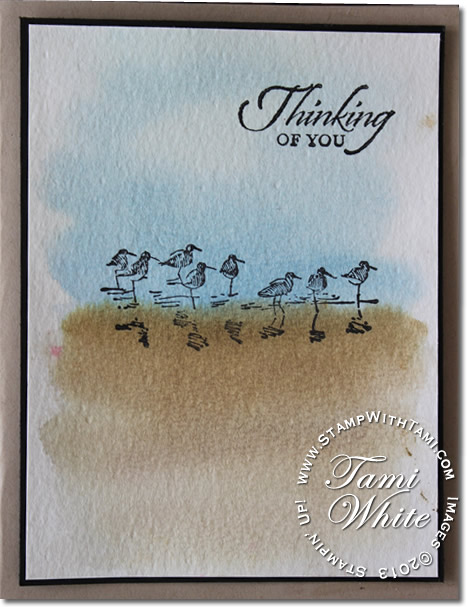
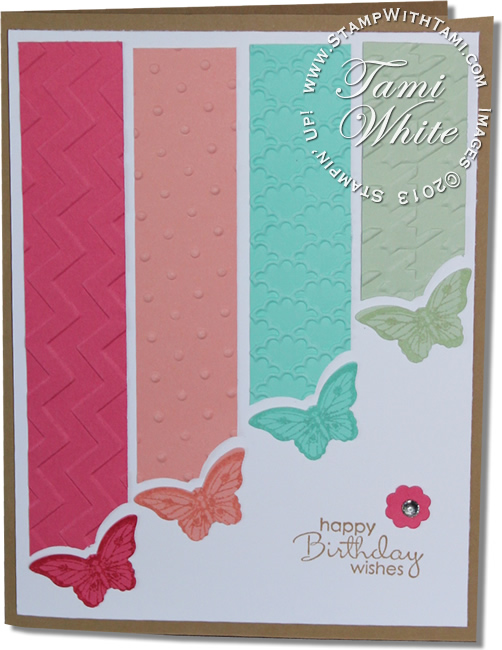
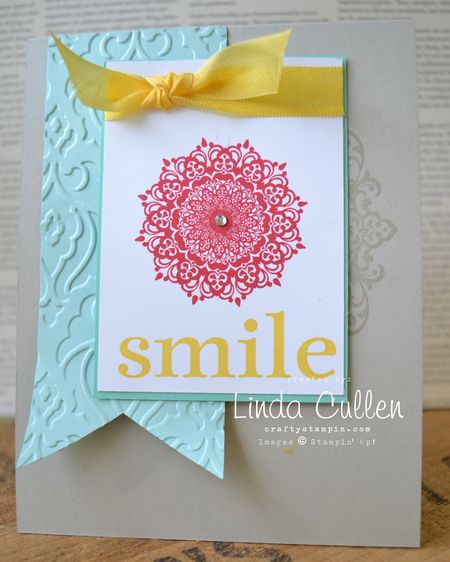
 I love the way this card turned out. The washed in background of the beach and the bird silhouettes are eye catching. I thought they were sea gulls, my mom thought they were Terns (I think that was the name)...what do you think?
I used the color wash technique to create the background. The key to achieving this effect is the paper used. I used Stampin' Up's watercolor paper, it does make a difference. I also love the convenience of our aqua painters (brushes), you don't need any extra supplies...such as a cup of water.
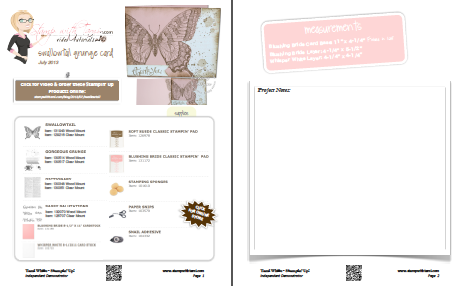
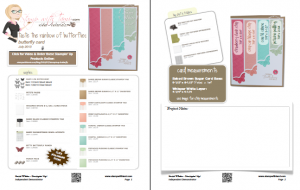
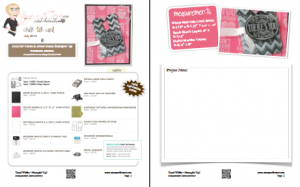
INSPIRATION SHEET
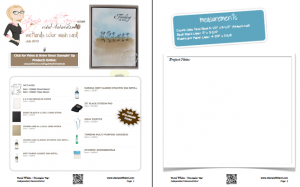
Inspiration Sheet
Includes all measurements and supplies
Wetlands Color Wash Card pdf


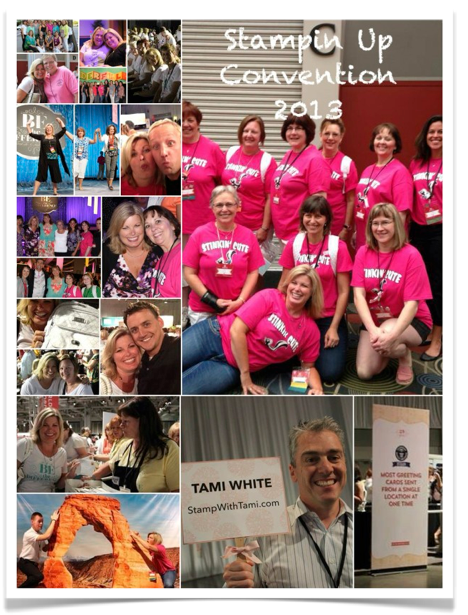


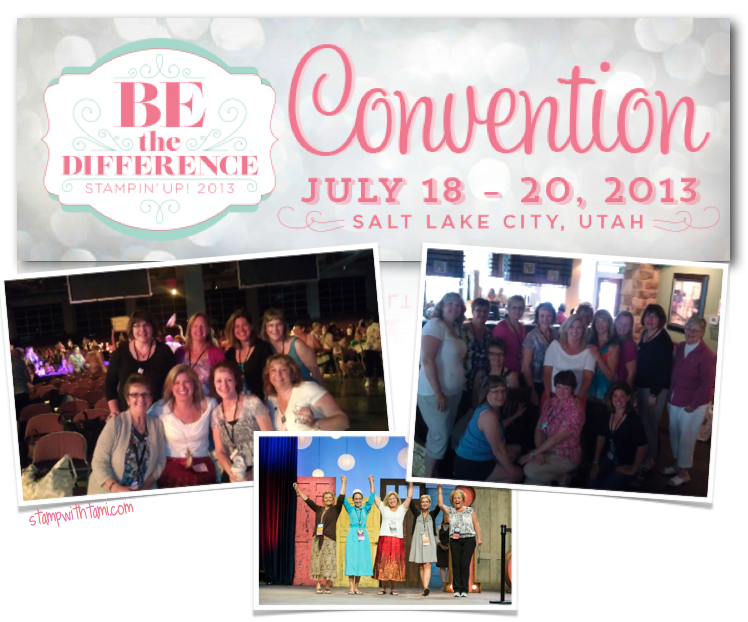
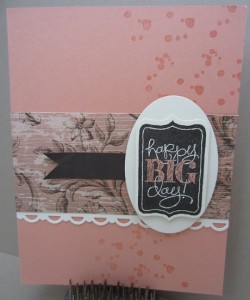
 We may even make the Guinness Book of World Records by sending more greeting cards from a single location at one time than ever before!! A representative from Guinness will be there and we will all be a part of it, how stinkin' exciting is that?!?! I can hardly stand it!!!